492/3
How to Make a Board Game: From First Idea to Playable Prototype
Index cards, a few coins and an afternoon are enough to start. This guide covers ideas, mechanics, prototypes, rules and the playtesting that turns a sketch into a game.
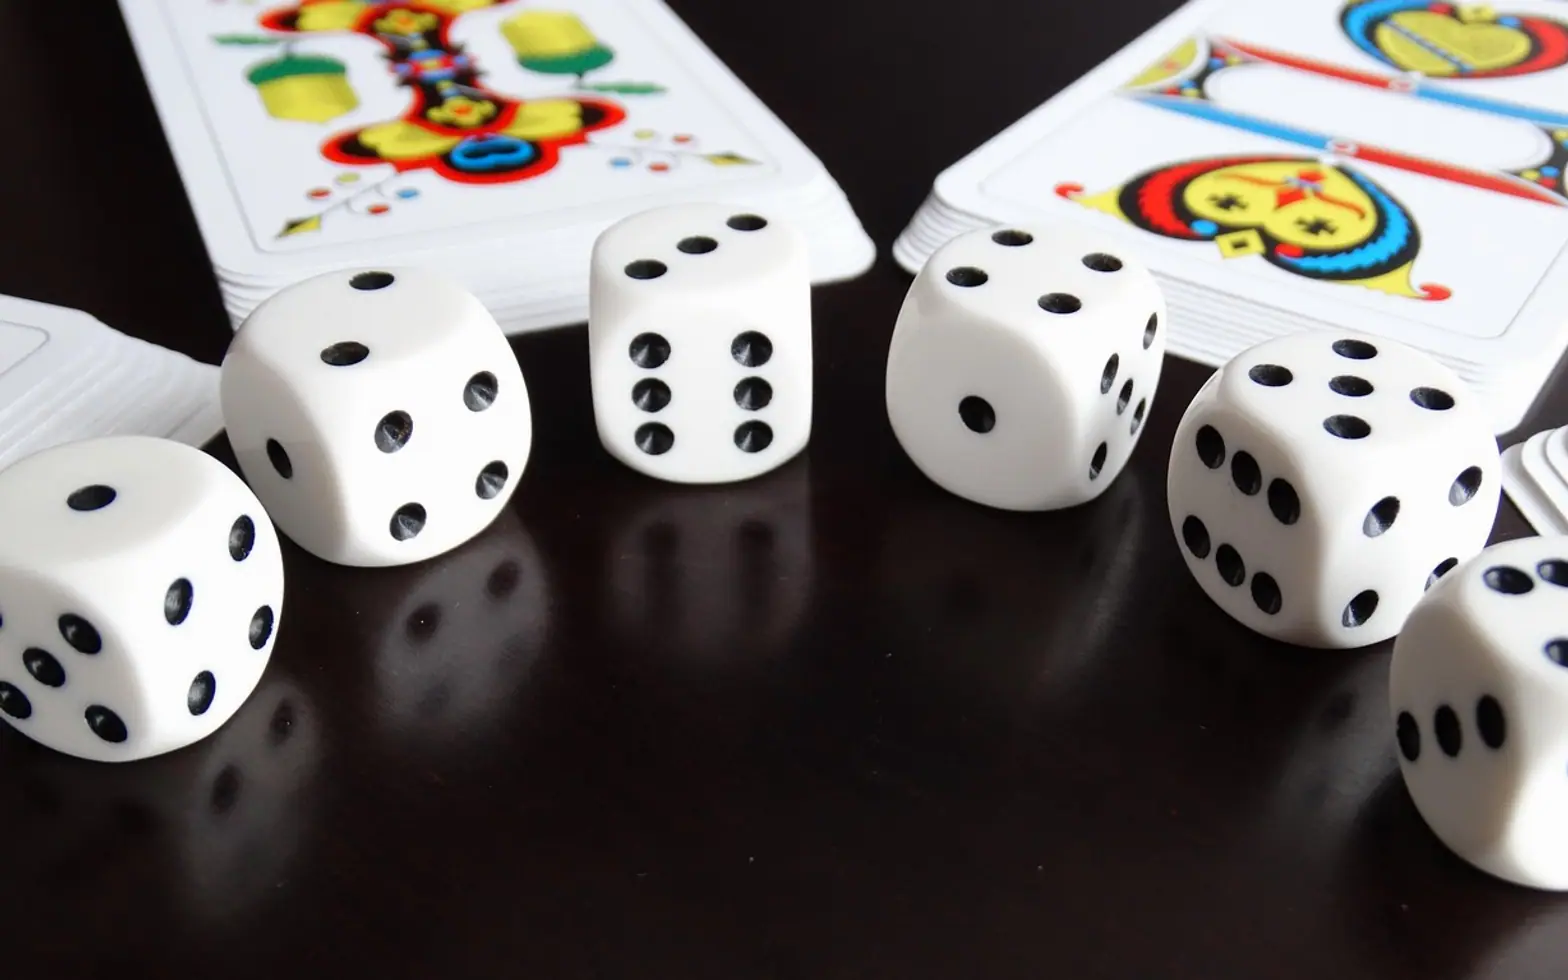
To make a board game, start with one idea you find fun, turn it into a simple goal and a repeatable turn, build a rough prototype from paper and household objects, then play it again and again, changing one thing at a time. Beautiful art and printed boxes come last. Almost every finished game began as scribbles on index cards.
Step 1: Find the spark
Ideas tend to arrive from one of two directions. Some designers start with a theme: a lighthouse keeper rationing oil through a storm, rival bakers sharing one oven, a family road trip where everyone wants a different stop. Others start with a mechanic, a satisfying action such as drafting cards, pushing your luck or racing along a track, and dress it in a theme later. Neither route is better. Write down several sparks before committing, and pick the one you would happily play twenty times.
If you are stuck, these board game ideas make good first projects:
- A trivia race built from your own family history or favourite films.
- A market game where players buy, sell and spoil fruit before the stall closes.
- A cooperative escape from a sinking ship, with rooms revealed by flipping tiles.
- A garden game where seeds placed on a grid score more when planted next to friendly plants.
- A remake of a game you already love, changed by one new rule.
Step 2: Define the goal and the end
Every playable game needs two answers before anything else: how do you win, and when does it stop? "Most points after eight rounds", "first to reach the harbour" and "survive until the deck runs out" are all workable. A clear end condition also protects players from a game that drags on long after the outcome is obvious.
Step 3: Choose a core loop
The core loop is what a player does on a typical turn. Keep it to two or three actions at first. The table below lists common mechanics and the feeling each one tends to create.
| Mechanic | What happens | Typical feel |
|---|---|---|
| Roll and move | Dice decide how far you travel | Light, family-friendly, luck-heavy |
| Set collection | Gather matching cards or tokens to score | Easy to teach, gentle tension |
| Worker placement | Place pieces on action spaces others then cannot use | Planning and blocking |
| Deck building | Start with a weak deck and add stronger cards | Steady sense of growth |
| Tile laying | Place tiles to build a shared or personal map | Spatial, visual, calm |
| Push your luck | Keep drawing for more reward or stop safely | Dramatic, laugh-out-loud moments |
| Area control | Compete for majority in regions of the board | Confrontational, tactical |
One well-chosen mechanic is plenty for a first design. Stacking four of them is a common reason homemade games feel muddled.
Step 4: Build an ugly prototype
Resist the urge to make it look good. A first prototype should be quick to build and painless to change.
- Cards: index cards cut in half, or blank playing cards, written in pencil.
- Board: a sheet of paper or the back of a cereal box, drawn with a ruler.
- Pieces: coins, buttons, beads, dried beans or pawns borrowed from another game.
- Dice: taken from any box in the cupboard.
Sketch only what the players need to read: names, numbers and a few words of effect. Symbols and illustration can wait. If you enjoy drawing, the artwork stage later is a fine excuse to practise, and the habits in our guide on learning to draw as an adult apply directly to card art.
Step 5: Write rules on one page
Draft the rules in the order a new player needs them: setup, what to do on a turn, how scoring works, how the game ends. Use short numbered steps and plain words. If the rules spill over one page this early, the game is probably more complicated than it needs to be.
Step 6: Playtest in rounds
- Solo test. Play every seat yourself. You will find broken combinations and dead turns within minutes.
- Friendly test. Hand the rules to one or two friends and stay quiet while they read. Note where they hesitate.
- Fresh-eyes test. Later, try it with people who have never heard of the idea and see whether the rules sheet alone is enough.
Watch faces more than scores. Boredom, confusion and frustration show up long before anyone says a word. After each session, change one rule, not five, so you know what made the difference. A two-player version is often the easiest to test at home; the advice in our piece on two-player board games helps you decide what a duel version should feel like.
Step 7: Balance and polish
Once the game is fun, look for the classic problems:
- First-player advantage. Give later players a small head start, such as an extra coin or card.
- Runaway leader. If the player in front keeps pulling ahead, add a catch-up rule or make leading cost something.
- Analysis paralysis. Too many options on a turn slow everyone down; trim the choices.
- Length. Cut rounds until the game ends slightly before players want it to.
Only now is it worth making a good-looking copy: cardstock, card sleeves over paper inserts, a printed board glued to grey board, and a box from a craft shop.
Frequently asked questions
Do I need software to design a board game?
No. Paper and pencil are enough for every stage up to the final copy. Spreadsheets help later for tracking card values, and simple layout tools help with printing.
How long does it take?
A small family game can be playable after a weekend. Getting it truly smooth usually takes many sessions over weeks, and that slow tuning is where most of the fun lies.
What makes a good theme for a family game?
Something everyone at the table already cares about. Family stories, pets and holidays all work; if you have researched relatives for a family tree, a game about your own ancestors makes a memorable gift.
Across the sections
Spotted a mistake?
A short note is enough.