562/2
Hand Sewing Stitches: The Essential Types for Mending Clothes
A needle, thread and a handful of stitches keep favourite clothes in rotation. Here are the essential hand stitches, what each one does, and which to reach for when a seam splits or a hem drops.
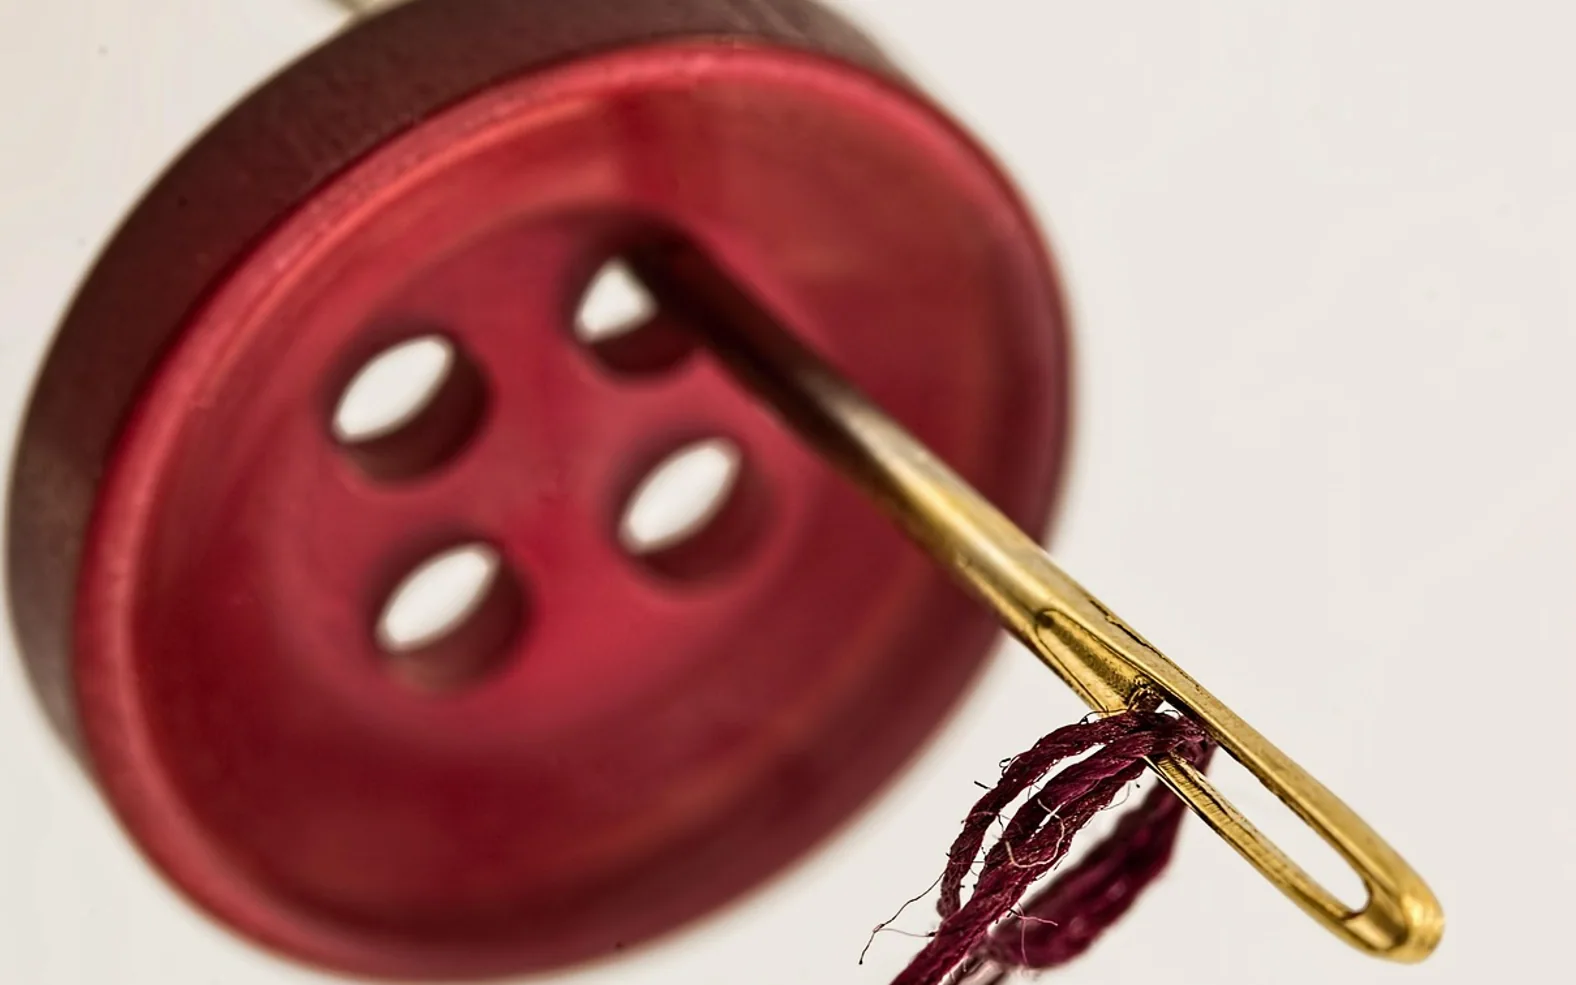
A handful of hand sewing stitches handles almost every everyday clothing repair: running stitch and backstitch for seams, slip and ladder stitch for invisible closures, whipstitch and blanket stitch for edges, and catch stitch or blind hem stitch for hems. Add the knack of sewing on a button and most wardrobe emergencies can be fixed at the kitchen table in a few minutes.
Before the first stitch
- Needles: "sharps" are the general-purpose hand needles; shorter ones give more control on small stitches.
- Thread: all-purpose polyester suits most garments. Match the colour to the fabric, or go one shade darker, which disappears better than one lighter.
- Length: cut roughly an arm's length. Longer pieces tangle and fray before you reach the end.
- Single or double: single thread for seams and hems, doubled for buttons and anything under strain.
- Helpers: a thimble, a few pins, small scissors and, if thread keeps knotting, a little beeswax run along it.
Tie a small knot at the end, or anchor the thread with two tiny stitches on top of each other on the inside of the garment.
The essential stitches
Running stitch
The simplest stitch: weave the needle in and out along a line, keeping stitches and gaps the same length. It is quick but not very strong, so use it for gathering, light seams and decorative topstitching.
Basting stitch
A long, loose running stitch that holds layers together temporarily before final sewing. Use a contrasting colour so it is easy to pull out afterwards.
Backstitch
The strongest hand stitch and the closest to a machine seam. Make one stitch forward, then bring the needle up a stitch length ahead and go back down at the end of the previous stitch. On the right side it forms a continuous line. Use it to repair split seams in trousers, sleeves and bag straps.
Slip stitch
An almost invisible stitch for joining a folded edge to flat fabric, as in a hem or a lining. Catch a single thread or two of the outer fabric, then slide the needle along inside the fold before catching the next thread.
Ladder stitch
A close cousin of the slip stitch used to close an opening between two folded edges, such as the gap left when turning a cushion cover. Take small stitches alternately inside each fold, like the rungs of a ladder, then pull the thread taut and the seam closes with no visible stitching.
Whipstitch
Loop the thread over the edge of the fabric again and again in a spiral. It joins two finished edges, holds a patch in place, or stops a raw edge from fraying.
Blanket stitch
A looped edging stitch: insert the needle from front to back a short way in from the edge, then bring it out over the loop of thread before pulling snug. It finishes edges on wool and felt and makes a neat, decorative border.
Catch stitch
Also called herringbone stitch. Work from left to right in small diagonal stitches that alternate between the hem allowance and the garment, forming a row of Xs. Because it has give, it suits hems on knits and stretchy fabrics.
Blind hem stitch
Fold the hem back so only a sliver of its top edge shows, then take a tiny bite of the garment fabric followed by a longer stitch in the hem fold. From the right side only small specks of thread show, if any.
Which stitch for which repair
| Problem | Stitch | Tip |
|---|---|---|
| Seam split open | Backstitch, from the inside | Start a little before the gap and finish a little after it |
| Dropped hem on trousers or a skirt | Blind hem or slip stitch | Pin the hem evenly all round before stitching |
| Hem on a stretchy top | Catch stitch | Keep stitches loose so the fabric can stretch |
| Hole in a cushion seam | Ladder stitch | Pull taut every few stitches to close the gap |
| Fraying raw edge | Whipstitch or blanket stitch | Trim loose threads first |
| Patch over a worn knee | Whipstitch or running stitch | Use a patch slightly larger than the worn area |
| Loose button | Doubled thread, with a shank | See the steps below |
Sewing on a button that stays put
- Thread the needle with doubled thread and knot the ends together.
- Mark the spot where the old button sat; the old thread holes are usually still visible.
- Lay a toothpick or pin across the top of the button so the stitches pass over it.
- Stitch up and down through the holes several times.
- Remove the pin, lift the button, and wind the thread around the stitches beneath it a few times to form a shank, which leaves room for the buttonhole fabric.
- Push the needle to the back and finish with several small stitches before trimming.
Common mistakes
- A knot that pulls straight through loose weaves; make a bigger knot or start with anchoring stitches.
- Stitches pulled too tight, which pucker the seam.
- Sewing through both layers of a trouser leg at once when mending a hem.
- Skipping pins. A few minutes of pinning saves an uneven result.
Turning repairs into decoration
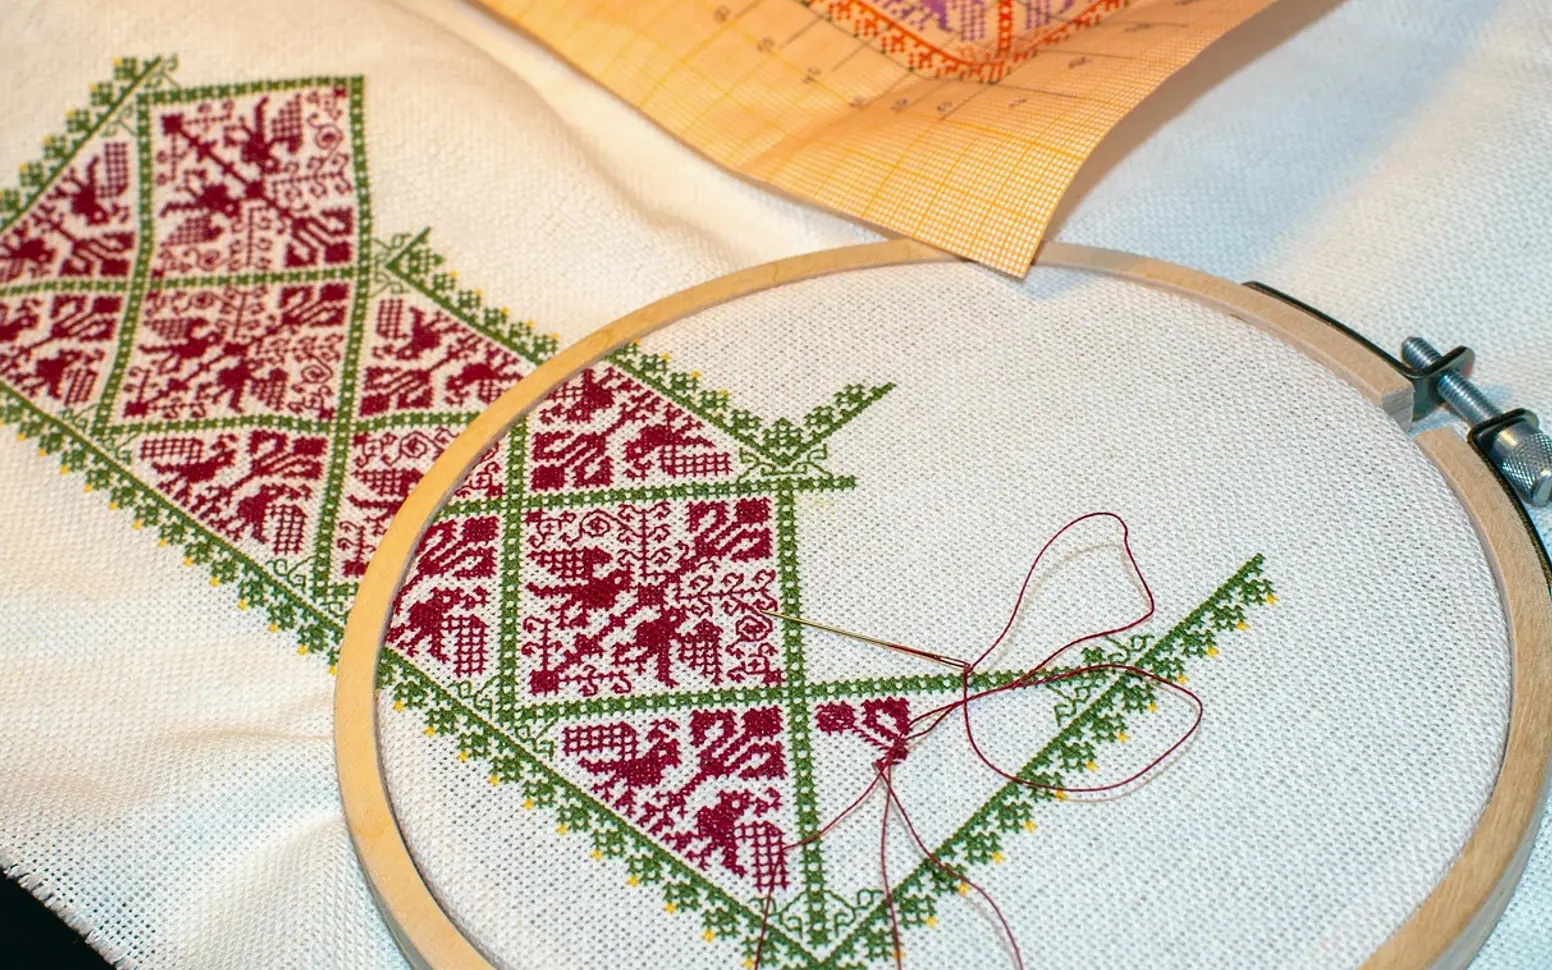
Visible mending treats a repair as a feature: a patch outlined in bright running stitch, a darn in contrasting wool, or embroidery stitched over a stain. If that appeals, our guide to basic embroidery stitches shows the stitches that suit clothing best, and counted cross stitch is a calm next step for evenings at home.
Across the sections
Spotted a mistake?
A short note is enough.