512/2
How to Build a Model Car Kit: A First Build From Sprue to Shelf
A plastic car kit rewards patience more than skill. This walk-through covers kit types, tools, cleanup, gluing, painting, decals and the order of assembly that keeps a first build tidy.
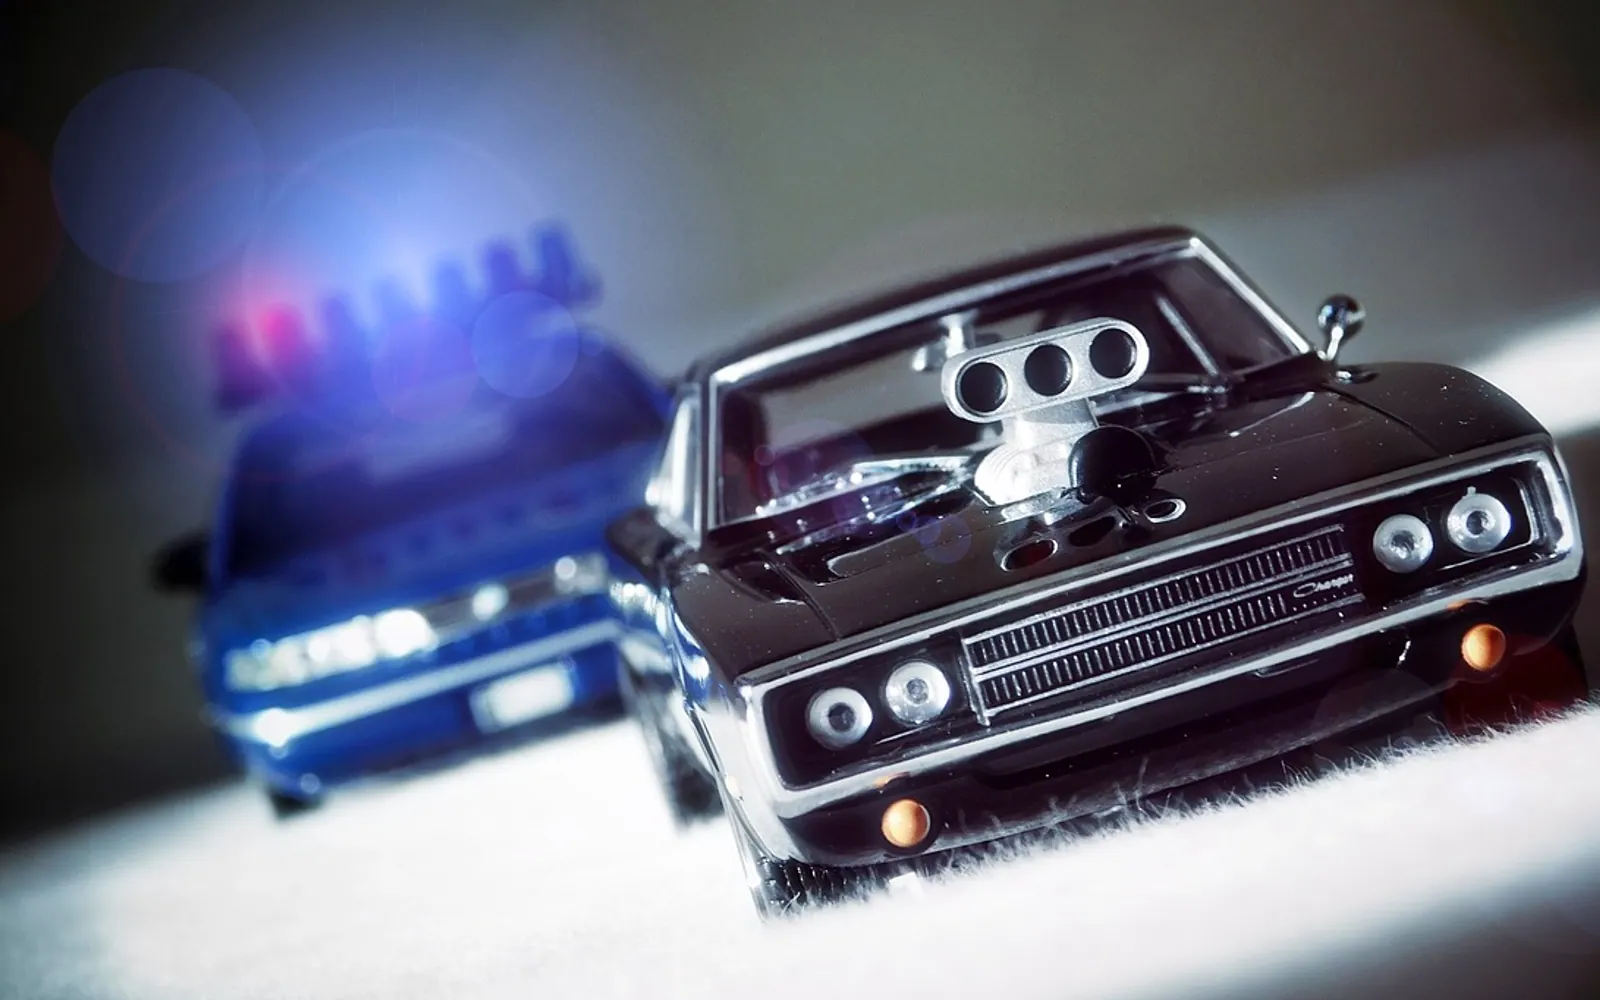
Building a model car kit comes down to a steady sequence: read the instructions, wash and cut the parts from their frames, clean and test-fit each piece, paint in subassemblies, glue sparingly, apply decals, then bring the body, chassis, interior and wheels together at the end. A first kit does not need expensive tools, only a clear table, good light and the patience to let paint and glue dry properly.
Choosing a first kit
Car kits come in two broad types:
- Snap kits push together without glue and often come pre-coloured. They are a good warm-up and a pleasant project to share with children.
- Glue kits have more parts and finer detail, and expect you to paint. Box art often lists a skill level, and a low-numbered level with a modest parts count is the friendliest start.
Scale tells you how much smaller the model is than the real car. In 1:24 or 1:25, the most common scales for car kits, the finished model is roughly hand-length and parts are large enough to handle comfortably. 1:43 models are much smaller and fiddlier; 1:12 kits are large, detailed and better saved for later.
Tools: what you need and what can wait
| Tool | Job | Beginner stand-in |
|---|---|---|
| Sprue cutters | Snip parts from the plastic frame cleanly | Small flush-cut side cutters |
| Hobby knife | Trim leftover nubs and flash | A craft knife with fresh blades |
| Sanding sticks or files | Smooth mould lines and cut points | Nail files with fine grit |
| Plastic cement | Fuse plastic parts together | None; this one is essential for glue kits |
| Clear-parts glue | Fix windows and lights without fogging | White craft glue (PVA) |
| Tweezers | Hold and place small parts and decals | Any fine-tipped tweezers |
| Primer and paint | Even base coat and colour | Spray cans for the body, brushed acrylics for details |
| Masking tape | Crisp lines between colours | Low-tack decorator's tape cut thin |
An airbrush, photo-etched upgrade parts and specialist chrome foils are all lovely to have, and none of them are needed for a first build.
Step-by-step build
1. Read through everything first
Go through the instruction sheet from start to finish before cutting a single part. Note which parts share a colour so you can paint them together, and look for steps where one assembly must be finished before another can be closed up.
2. Wash the parts
Wash the frames in warm water with a little washing-up liquid and let them air dry. This removes residue from manufacturing that can stop primer and paint from sticking.
3. Cut and clean
Cut each part a little away from its body, then trim the remaining nub flush with a knife or sanding stick. Cutting right against the part risks stress marks in the plastic. Sand away the fine mould lines along the edges of parts, especially on the body, where paint will make them stand out.
4. Test-fit before gluing
Hold parts together dry to check how they meet. Testing the chassis against the body and the windows against their openings now avoids surprises at the end.
5. Prime and paint in subassemblies
Most car kits divide naturally into the engine, chassis, interior and body. Paint these as separate groups. Prime the body first; primer reveals scratches and seams you missed and helps colour go on evenly. Build up colour in several light coats rather than one heavy one, and respect drying times printed on the can or bottle. A gloss clear coat over the body protects the paint and gives decals a smooth surface to sit on.
6. Glue with restraint
Plastic cement works by softening the surfaces so they fuse. Too much melts detail and leaves fingerprints. Apply a small amount to one surface, press the parts together and hold briefly. Thin liquid cement can be touched to a joint and drawn in by capillary action. Use clear-parts glue or white glue for windows and light lenses, since ordinary cement and instant glue can fog clear plastic.
7. Apply decals
- Cut out one decal and soak it in water for a short time until it slides on its backing paper.
- Slide it from the paper onto the model, position it with a damp brush, and blot gently with a tissue.
- If the decal must follow curves or panel lines, a decal-softening solution helps it settle.
- Seal everything with another light clear coat once dry.
8. Final assembly
Fit the glass into the body, add the interior to the chassis, then join chassis and body. Wheels and small exterior parts such as mirrors and wipers go on last, so they are not knocked off while you handle the model.
Mistakes to avoid on a first build
- Rushing paint or glue drying times, which leaves fingerprints and soft paint.
- Painting too thickly and hiding the moulded detail.
- Losing tiny parts. Work over a light-coloured tray, much like sorting jigsaw puzzle pieces.
- Gluing the body to the chassis before checking that everything inside lines up.
- Cutting toward your fingers. Always cut away from your hands, on a cutting mat.
Workspace and safety
Work in a well-ventilated room when using solvent-based glues, primers and spray paints, and follow the label directions on each product, including any advice on masks or gloves. Keep blades and adhesives out of reach of small children. A bright, adjustable light over the bench helps more than any other upgrade; directional fixtures like those described in our article on track lighting are ideal for close work.
Common questions
How long does a first car kit take?
It depends on the parts count and how much you paint, and most of the time is spent waiting for coats to dry. Spreading a build across several evenings is normal and gives better results.
Which paint should a beginner use?
Water-based acrylics are the easiest to clean up for brushed details. For the body, spray cans give a smoother finish than a brush. Check that primer, colour and clear coat are compatible with one another before starting.
What comes after the first kit?
Many builders move on to adding details such as wiring the engine or foiling chrome trim. If you enjoy the making as much as the result, designing a game of your own is another hands-on project; see our guide on how to make a board game.
Across the sections
Spotted a mistake?
A short note is enough.