541/2
Basic Embroidery Stitches for Beginners (and How to Use Them on Clothes)
Nine hand embroidery stitches cover nearly every beginner pattern. Learn what each one is for, how to work it, and how to add them to denim, shirts and bags that get washed and worn.
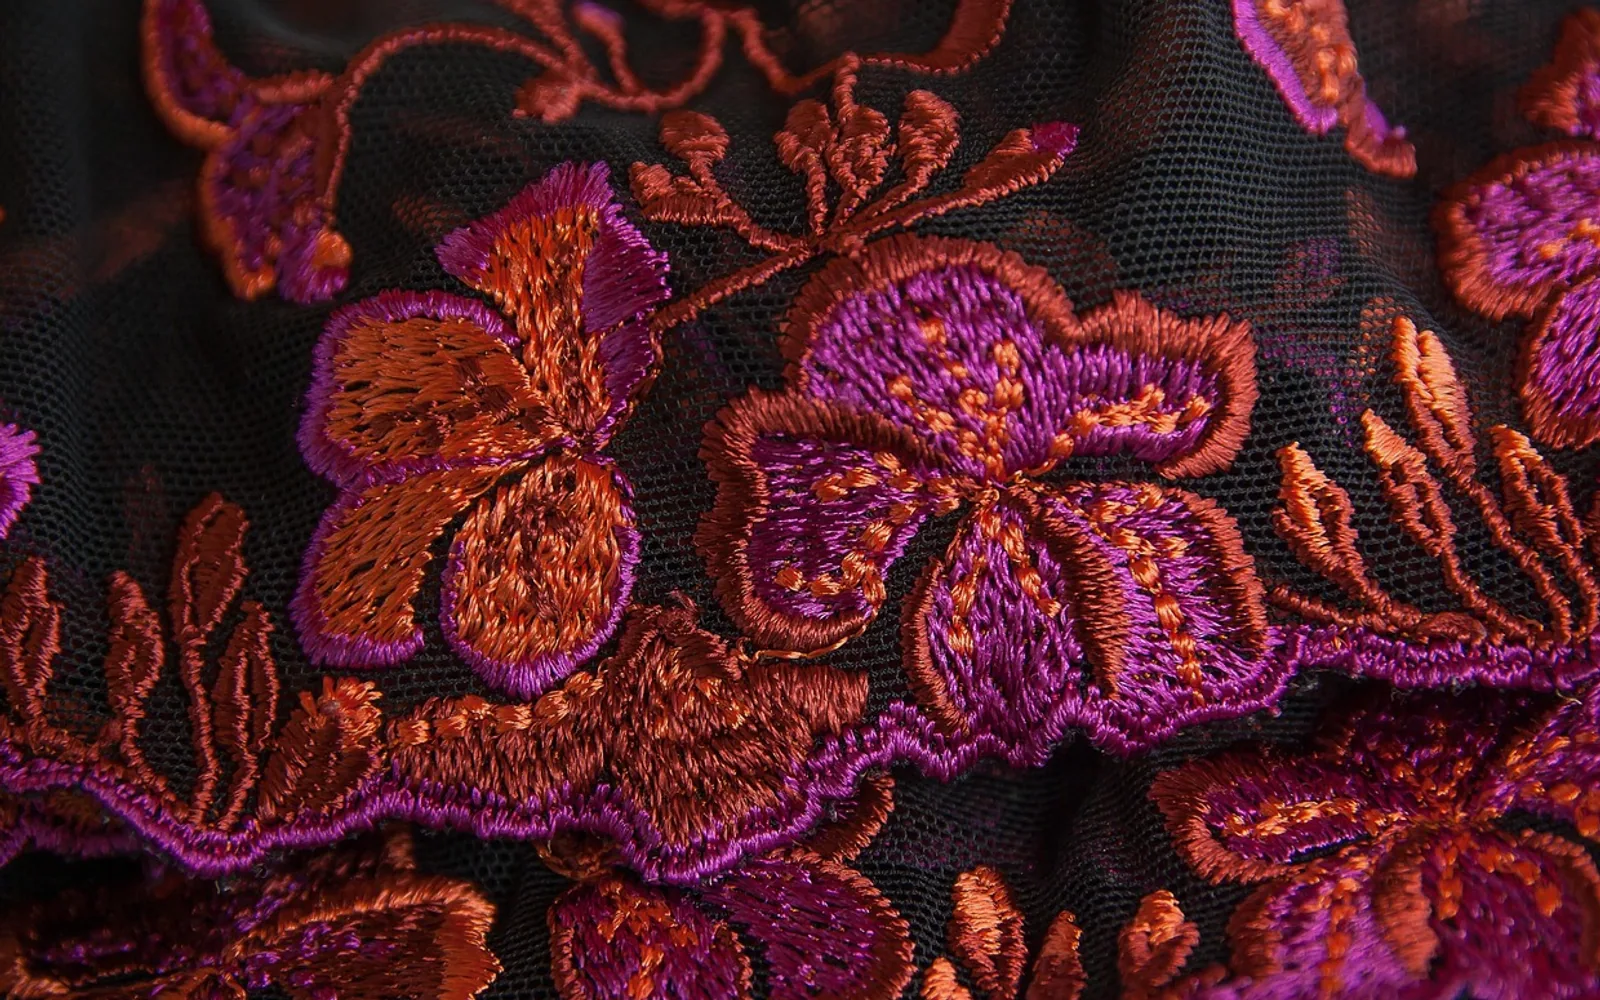
Most hand embroidery patterns for beginners rely on a small set of stitches: lines (backstitch, stem, split, chain), fills (satin, seed) and accents (French knot, lazy daisy, fly stitch). Learn those nine and you can embroider initials on a shirt cuff, flowers on a denim jacket or a slogan on a tote bag. Each one takes a few minutes to understand and a little practice to make even.
What to have ready
- An embroidery hoop that is slightly larger than the motif.
- Embroidery needles (sometimes sold as crewel needles), which are sharp with a long eye for floss.
- Stranded cotton floss, split into two or three strands for most work, more for bold lines.
- A practice cloth of plain cotton or linen before you move on to a garment.
- A way to mark the design: a water-soluble pen, tracing against a bright window, or a printed water-soluble stabiliser for dark fabrics.
The nine stitches
| Stitch | Best for | Look |
|---|---|---|
| Backstitch | Lettering, fine outlines | Solid, even line |
| Stem stitch | Curves, flower stems | Twisted, rope-like line |
| Split stitch | Outlines, filling in rows | Textured, slightly braided |
| Chain stitch | Bold lines and loops | Linked loops |
| Lazy daisy | Petals and leaves | Single teardrop loops |
| Satin stitch | Small solid shapes | Smooth, glossy fill |
| Seed stitch | Light texture fills | Scattered tiny dashes |
| French knot | Dots, flower centres, eyes | Raised bead-like knot |
| Fly stitch | Leaves, ferns, grasses | Open V or Y shapes |
Backstitch
Come up one stitch length ahead along the line, go down at the starting point, then come up again one stitch length further on. Each new stitch reaches back to meet the last. Keep stitches short on curves and lettering so the line stays smooth.
Stem stitch
Work from left to right. Make a stitch along the line, then bring the needle up halfway back along it, keeping the thread on the same side every time. The overlap gives a corded look that bends gracefully around curves.
Split stitch
Make one straight stitch, then bring the needle up through the middle of it, splitting the strands. Continue so each stitch splits the one before. Rows of split stitch packed side by side also make a sturdy fill.
Chain stitch
Come up, then go back down into the same hole, leaving a loop on the surface. Bring the needle up a short distance ahead, inside the loop, and pull gently to shape it. Repeat to build the chain, and finish with a tiny stitch over the last loop.
Lazy daisy (detached chain)
This is a single chain loop anchored with a small stitch at its tip. Arrange five or six around a centre point and you have a flower.
Satin stitch
Lay straight stitches side by side across a shape, edge to edge, with no gaps. Outline the shape first in split stitch and stitch over it for a crisp, slightly raised edge. Keep satin areas small, since long stitches snag easily on clothing.
Seed stitch
Scatter tiny straight stitches in random directions to tint an area without filling it completely. It is forgiving and ideal for backgrounds.
French knot
Bring the needle up, wrap the thread around it once or twice, then insert the needle just beside where it emerged. Hold the thread taut as you pull through. Too loose and the knot turns into a loop; too tight and it can pull to the back.
Fly stitch
Come up at the top left of a V, go down at the top right, leaving the thread loose, then come up at the point of the V inside the loop and anchor it with a small stitch. Stack fly stitches to draw a leaf with a central vein.
Embroidering clothes that get worn
Garments ask a bit more of embroidery than a framed piece does.
- Prewash the garment so it shrinks before you stitch, not after.
- Stabilise stretchy fabric. T-shirts and knits need a stabiliser on the back so stitches do not pucker; denim and canvas usually manage without.
- Test the floss. Dampen a strand and press it on white paper towel to check that strong colours do not bleed.
- Choose durable stitches. Backstitch, chain and stem hold up better than long satin stitches or loose knots on areas that rub.
- Secure the back neatly by weaving ends under existing stitches, and avoid long jumps between motifs.
- Wash gently, inside out, on a cool cycle or by hand.
Embroidery is also a lovely way to hide a repair. A small stain or mended hole on a shirt becomes a flower or a cluster of French knots; for the mending itself, see our guide to hand sewing stitches.
Common mistakes
- Using too many strands, which makes lines lumpy and hard to pull through.
- Stitching without a hoop on thin fabric, so the work puckers.
- Pulling too tight on clothing, which stops the fabric from moving naturally.
- Carrying thread across the back between distant motifs, where it can catch on fingers or jewellery.
Short answers
What is the easiest embroidery stitch?
Running stitch, a simple in-and-out line, is the easiest of all, and the mending guide explains it in detail. Backstitch, described above, is the natural next step.
Where do I find designs?
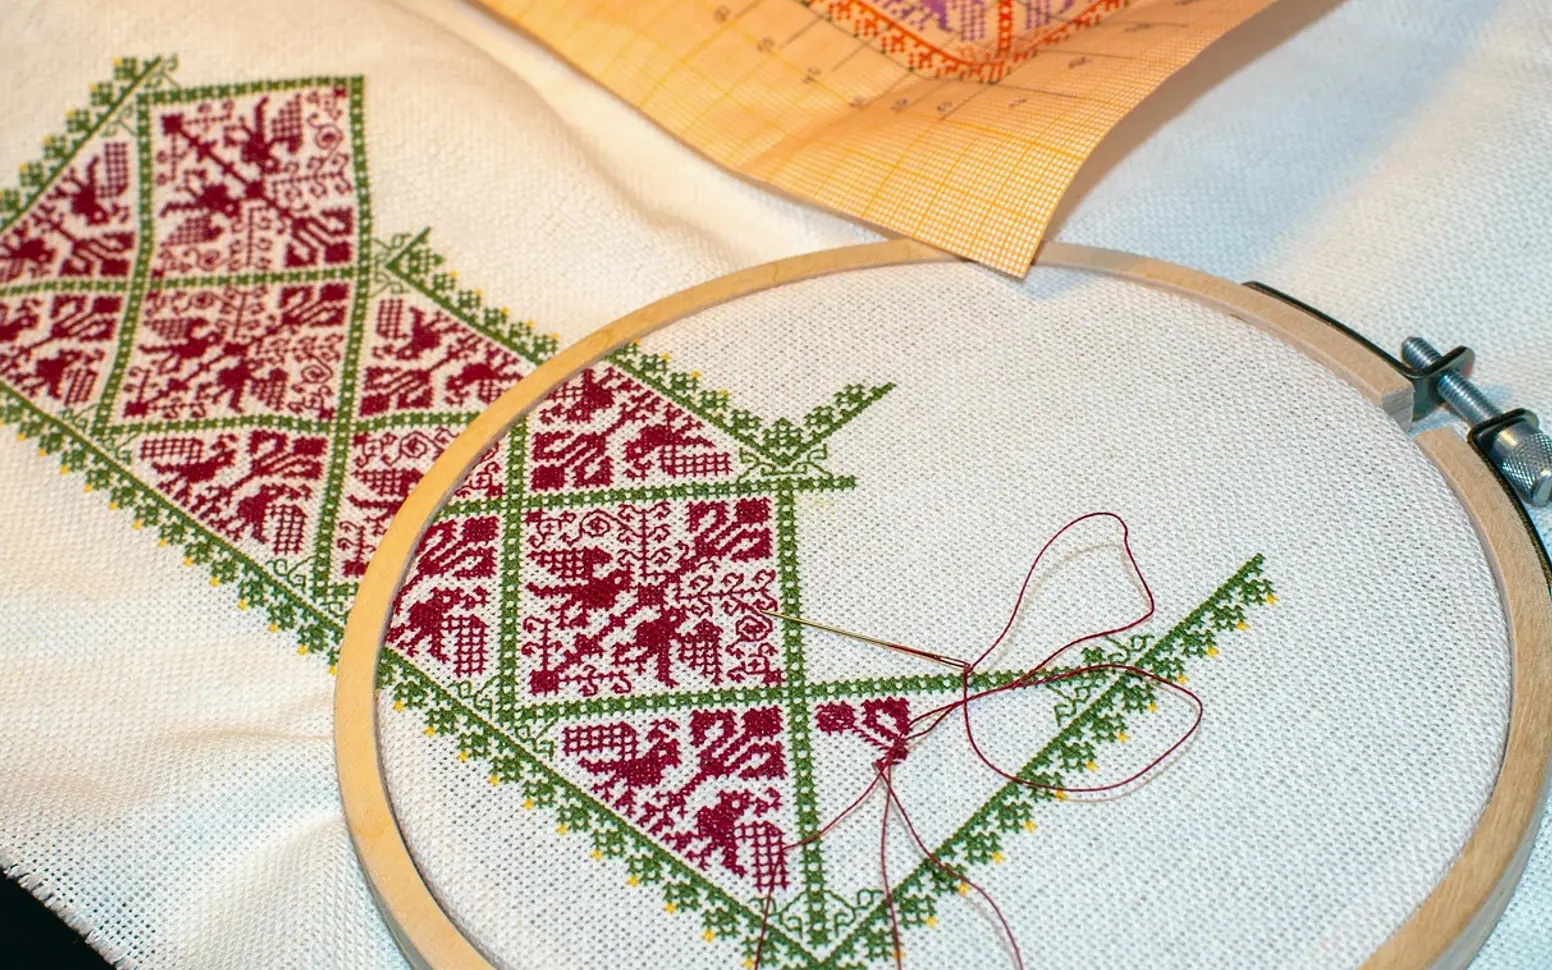
Draw your own: simple line drawings translate well into backstitch, and the exercises in our article on learning to draw as an adult help. If you prefer a grid to follow, counted cross stitch offers a more structured start.
Across the sections
Spotted a mistake?
A short note is enough.